
CSS Selectors
Intro
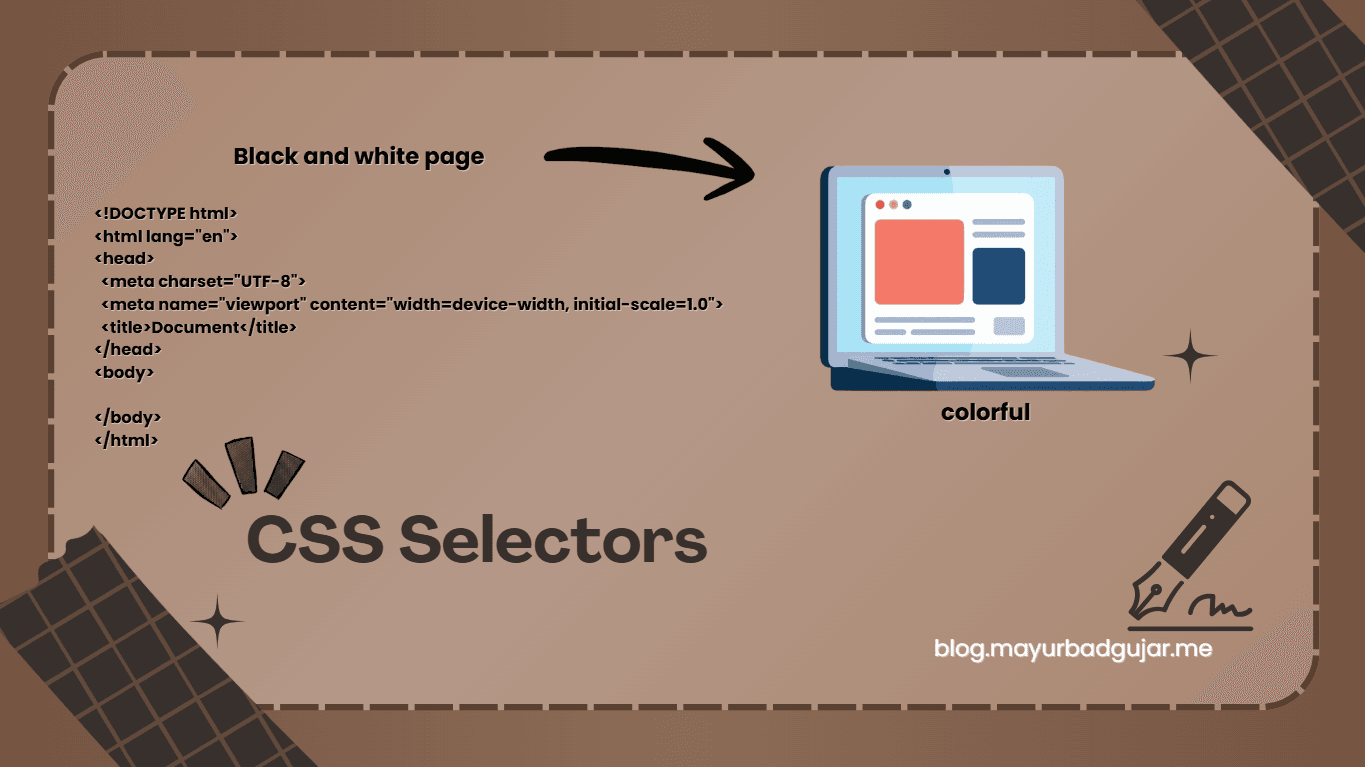
Okay, we built the skeleton with HTML. It looks ugly. It’s just black text on a white background. Now we want to style it. We want the button to be blue, the text to be bold, and the header to be sticky. But here is the problem: How do you tell the browser WHICH button to paint blue? You can't just shout "Style the button!" The browser will style every button. This is where CSS Selectors come in. Think of a Selector as a Sniper Rifle. It lets you aim at a specific element (or group of elements) and apply style only to them.
1. Element Selector
This is the most basic tool. You target the Tag Name.
p {
  color: red;
}
What it does: It finds EVERY SINGLE
<p>tag on your website and paints it red.The Problem: It’s messy. You usually don't want every paragraph to look the same.
Analogy: "Hey everyone in the room, stand up!" (Everyone stands up).
2. Class Selector (.)
This is your best friend. You will use this 90% of the time. You give an HTML element a class attribute, and then target it with a dot ..
HTML:
<button class="primary-btn">Click Me</button>
<button class="primary-btn">Submit</button>
CSS:
.primary-btn {
  background-color: blue;
}
What it does: It targets only elements wearing the "primary-btn" nametag.
The Superpower: You can reuse it! Multiple elements can have the same class.
Analogy: "Hey, everyone wearing a Red Hat, stand up!" (Only the red hat group stands up).
3. The Passport: ID Selector (#)
This is the strict one. An ID must be Unique. You can only have ONE element with a specific ID on a page. You target it with a hash #.
HTML:
<nav id="main-header">Logo</nav>
CSS:
#main-header {
  height: 50px;
}
What it does: It finds that one specific guy.
The Rule: Never reuse an ID. If you have two
#main-headers, your code is broken.Analogy: "Hey Rahul Sharma with Passport #123, stand up!" (Only one person stands up).
4. Group Selector (,)
Sometimes you want the same style for different things. Instead of writing code twice, you group them with a comma.
h1, h2, p {
  font-family: Arial;
}
What it does: "I want the h1 AND the h2 AND the paragraph to use Arial."
Analogy: "Everyone in the front row AND the back row, stand up!"
5. Descendant Selector (Space)
This is where it gets cool. You can target something inside something else. You use a Space.
div p {
  color: green;
}
Read it Right to Left: "Target any
<p>that is inside a<div>."Result:
<p>inside adiv? Green.<p>outside adiv? Not Green.
Analogy: "Target the Chair... but only the chair inside the Kitchen."
6. Who Wins? (Specificity)
What happens if you have a conflict?
p { color: red; }      /* Element */
.text { color: blue; } /* Class */
#unique { color: green; } /* ID */
If one element has all three... who wins?
The Hierarchy of Power:
ID (
#) - The Boss. (Strongest)Class (
.) - The Manager. (Medium)Element (
p) - The Intern. (Weakest)
So, Green (#ID) wins. If you want to override a Class, use an ID. If you want to override an ID... rethink your life choices (or use !important, but don't do that yet).
Wrap Up
CSS is all about pointing.
Use Element for defaults.
Use Class for reusable components (Buttons, Cards).
Use ID for unique layouts (Header, Footer).
Use Descendants for specific contexts.
That's it for today! We are slowly building. I have a lot more ideas for this series, we will dive and eventually the beast itself: JavaScript.
So stay tuned and follow for more. Catch you in the next one!