
Git for Beginners - Basics and Essential Commands
In the last article, we talked about the nightmare of passing pendrives around. We decided we needed a system that acts like a Time Machine for our code. A system that remembers versions, bugs, and updates.
That system is Git.
What is Git?
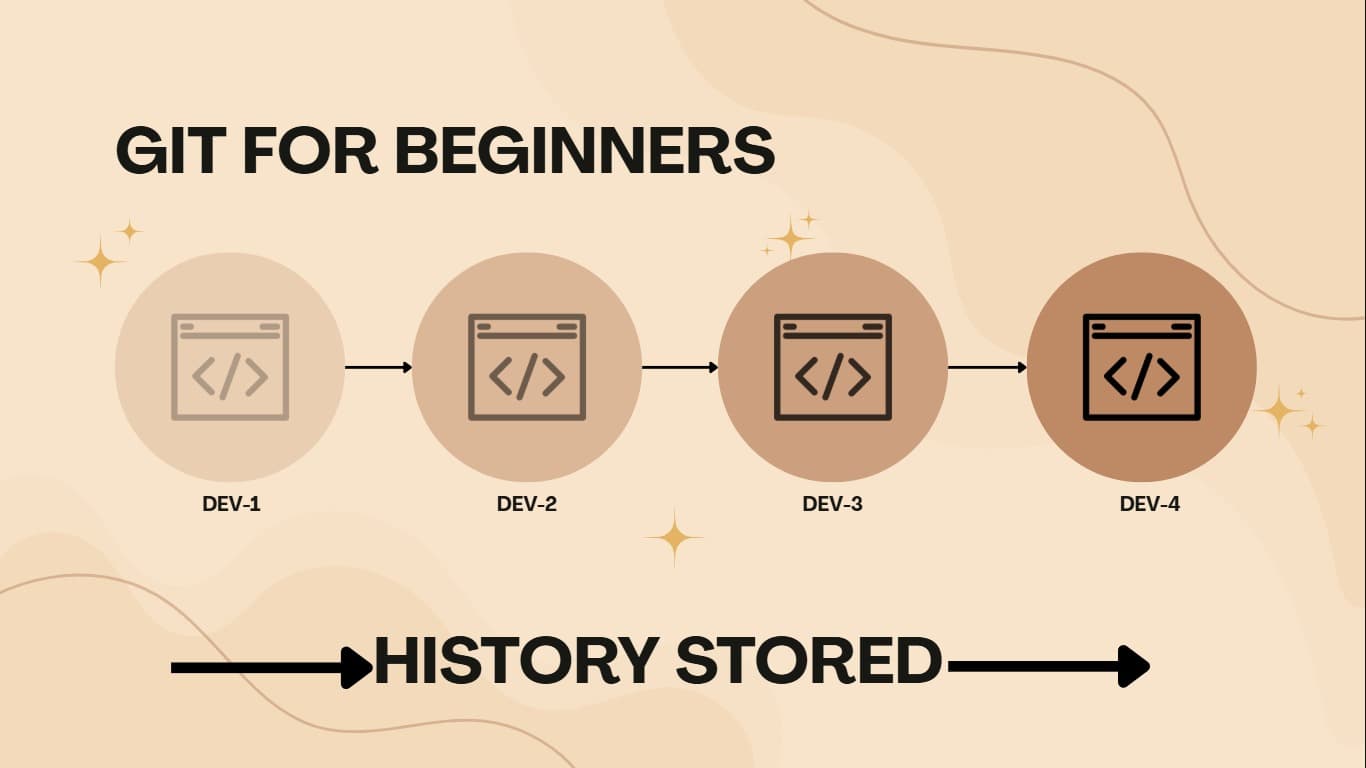
This is the Time Machine. It allows you to go back to yesterday’s code if today’s code breaks. It tracks each line you changed on your laptop itself.
Game Changer: It is Distributed The tracked history can be shared online on the cloud (GitHub).
If anyone loses the code, you still have the entire project history on your laptop, and all other team members also have that project history.
Problem solved: It tracks each line, so now you know what updated and when.
Still an issue: How do others see the projects? We will see this later. First, let’s setup the Git config.
First-Time Setup
The setup creates the identity of the developer. We need to answer the manager's question: “Who wrote this code?”
1. Set your Name This is what appears when you make any changes.
Bash
git config --global user.name "Mayur"
2. Set your Email Important: This must match your GitHub email if you want those green contribution squares in your profile!
git config --global user.email "mayur@example.com"
3. Verify it worked
git config --list
Note: The
--globalflag means “apply to every project on my laptop”. You only do this once!
Problem solved: Now the manager can see the names and emails of the developers on each contribution.
Initializing vs Cloning a Project
How to initialize a new Git repo (git init) To track your project, Git needs to "see" your project from the local code editor (VS Code). Allow Git to see your project by the command:
git init
The .git folder is added to your project. It's hidden from you, but all your history is stored inside it.
How to clone an existing Git repo (git clone) If your teammate has already initiated the repo (project) on the cloud (GitHub), you don't init. You use:
git clone <repo url>
git clone is used to create a copy of the version which is already updated on the cloud.
Saving Changes: The "Wedding Photo" Analogy
Now that you have a repository, you can save file changes. Beginners often get confused about why we need add before commit.

Think of a Wedding Photographer.
1. The Hall (Working Directory) The wedding hall with all the guests. Some are new, some are eating.
Command to check the hall:
git status
2. The Stage (git add) You call specific people to the stage. You are arranging the group for the picture.
Command to stage files:
  git add filename.js
  # OR to add everyone
  git add .
3. The Shutter Click (git commit) You freeze that moment forever in your camera's memory.
Command to save:
git commit -m "Added the login feature"
4. Uploading (git push) You upload that photo to Instagram (GitHub) so the family can see it.
Command to sync:
git push origin main
Viewing History
Git tracks its own history locally. You can walk through the history of the project anytime.
Command to see the Time Machine:
git log
It shows every version, who made it, and when.
Summary: Git vs GitHub
They are totally different:
Git helps you track your code locally in the project itself.
GitHub is the online service where you push code so that others can collaborate asynchronously with you.
Next Article: How Git Works Internally